

This past Halloween, I channeled my inner baker and created a spooky spider web cake, a yearly tradition of mine. Last year, I went with a more sinister theme, the Vampire Cake.
While I’m not a professional baker, my 35 years as a chef have given me a solid foundation in culinary arts. However, baking wasn’t a major part of my role in large kitchens and prestigious golf courses. My days were spent in the heat of the kitchen, not the cool, quiet world of baking.
I initially dreamed of becoming a baker, but the graveyard shift hours deterred me. Instead, I pursued fine dining and banquets, which offered more reasonable schedules. Now, in my retirement, I’m finally able to indulge my passion for baking and create delicious treats.
My Spooky Spider Web Cake
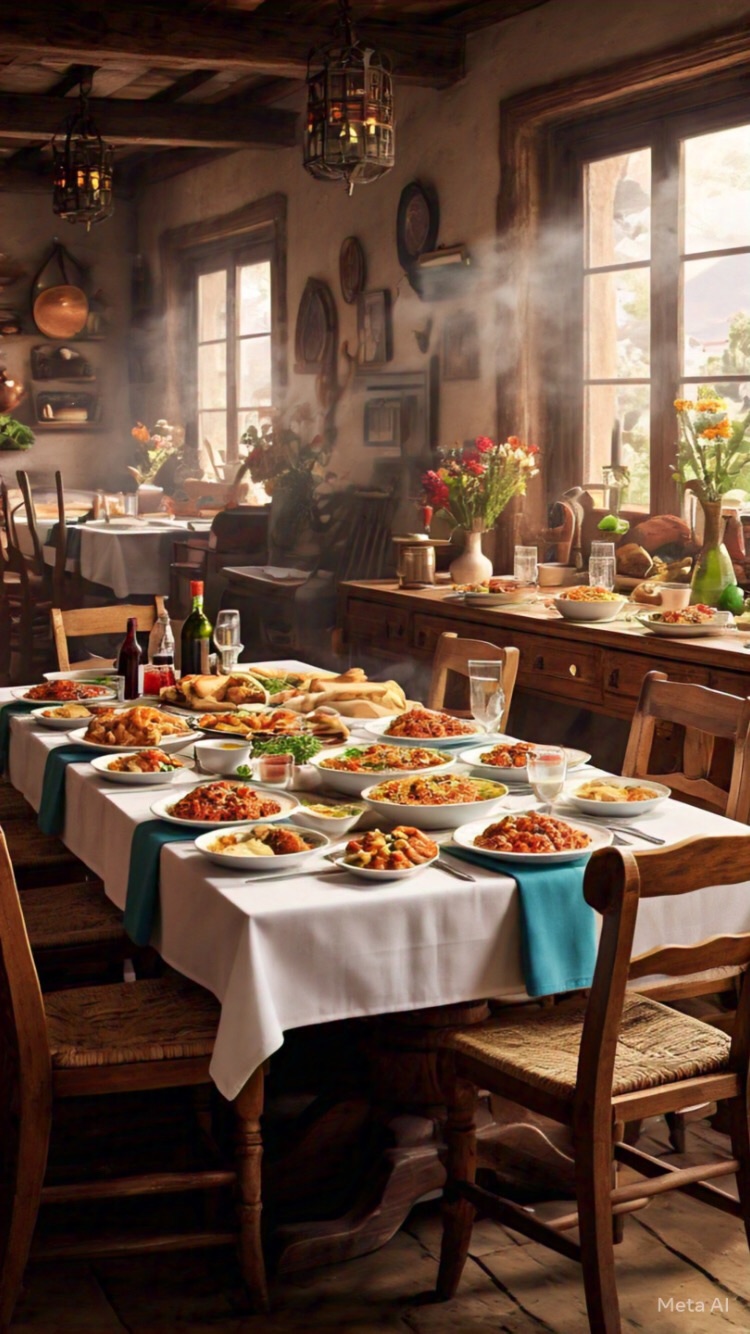
This Halloween, I created a spooky spider web cake with an orange pumpkin twist. The cake itself is a three-layer slab of rich chocolate cake from Ezzy Pezzy’s recipe. I layered the cake with orange cream cheese frosting and then glazed the top with chocolate ganache, creating the spider web effect. To add a spooky touch, I used melted marshmallows to form the web and finished it off with some fun, cartoonish Oreo cookies.
You too can make it ! Just one step at a time. Small steps lead into a masterpiece!

My Easy Pezzy Chocolate Cake
Ever wanted to bake a rich, delicious chocolate cake from scratch but felt a little intimidated? Don’t be! Baking doesn’t have to be complicated, and I’ve designed this recipe to be straightforward and fun for everyone. It’s my go-to recipe because it’s quick, reliable, and tastes absolutely amazing.
You can make it in a Bundt pan or two 8-inch cake pans, and top it with a simple icing or a decadent chocolate ganache.
Let’s start with the basics. The first step to any great cake is simply gathering your ingredients.
What You’ll Need:
Dry Ingredients
(Just sift these all together in a large bowl)
• 1 ¾ cups All-Purpose Flour
• ¾ cup Cocoa Powder
• 1 ½ teaspoons Baking Powder
• 1 ½ teaspoons Baking Soda
• 1 teaspoon Salt
• 2 cups Sugar
Wet Ingredients
(Mix these together in a separate bowl or large measuring cup)
• 1 cup Milk
• ½ cup Canola or Grapeseed Oil
• 2 large Eggs
• 2 teaspoons Vanilla Extract
And one final ingredient…
• 1 cup very hot or boiling water (we’ll add this at the end!)
See? That’s not so scary! You’re just a few simple steps away from a perfect chocolate cake.
To keep things clear and easy to follow, I’ve put the full step-by-step mixing and baking instructions on my main recipe page. Let’s bake this together!
Ready for the fun part? Click here for the full, easy-to-follow instructions!

Chef Bari’s Orange Cream Cheese Buttercream
This recipe yields enough frosting to generously fill and frost a standard two-layer 8-inch or 9-inch cake.
Ingredients:
• 1 cup (226g or 2 sticks) unsalted butter, softened to room temperature
• 8 oz (226g) full-fat, block-style cream cheese, softened to room temperature
• 4-5 cups (480g – 600g) powdered sugar, sifted
• 2 tablespoons finely grated orange zest (from about 1 large orange)
• 1 teaspoon pure vanilla extract
• A pinch of fine sea salt
• 1-2 tablespoons fresh orange juice (or milk, for thinning if needed)
• A few drops of orange gel food coloring (optional, for a more vibrant color)
Method:
1. Cream the Fats: In the bowl of a stand mixer fitted with the paddle attachment (or using a hand mixer and a large bowl), beat the softened butter on medium-high speed for about 2 minutes until it’s light, pale, and fluffy. Scrape down the sides and bottom of the bowl.
2. Add Cream Cheese: Add the softened cream cheese to the butter. Beat on medium speed for another 2 minutes until completely smooth and well combined. It’s important that there are no lumps. Scrape the bowl again to ensure everything is incorporated.
3. Incorporate Flavors: Add the orange zest, vanilla extract, and pinch of salt to the bowl. Mix on low speed just until they are combined.
4. Gradually Add Icing ( Powder) Sugar: Turn the mixer down to its lowest speed. Add the sifted powdered sugar one cup at a time, waiting until each cup is mostly incorporated before adding the next. This prevents a sugar cloud from erupting in your kitchen.
5. Adjust and Finish:
• Once all 4 cups of sugar are in, increase the mixer speed to medium-high and beat for 2-3 minutes until the frosting is very light, smooth, and creamy.
• Check the consistency. If it’s too thick, add the fresh orange juice one tablespoon at a time until you reach your desired spreadable consistency. If it’s too thin, add more powdered sugar, a quarter cup at a time.
• If using, add a few drops of orange gel food coloring and mix until the color is uniform.
Chef’s Pro-Tips:
• Temperature is Crucial: For the smoothest possible frosting, your butter and cream cheese must be at room temperature. Cold ingredients will create a lumpy frosting.
• Block-Style Cream Cheese: Do not use the whipped cream cheese that comes in a tub. The block style has a lower water content and creates a more stable frosting.
• Don’t Over-Whip: Once the cream cheese is in, be careful not to beat it for excessively long periods, as it can sometimes cause the frosting to become too soft or break.
• Chilling is Your Friend: Cream cheese frosting is naturally softer than standard buttercream. If it feels too soft to work with, especially for piping, just place the bowl in the refrigerator for 15-20 minutes to firm up before use.
Perfect Pourable Ganache (with Chocolate Chips)
This 1:1 ratio is ideal for a glossy top layer and beautiful, controlled drips on your cake.
Yields: Enough to cover and drip over an 8 or 9-inch cake.
Ingredients:
• 8 oz (225g / approx. 1 1/3 cups) good quality semi-sweet chocolate chips
• 1 cup (8 fl oz or 240ml) heavy whipping cream (at least 35% milk fat)
• 1 tablespoon (14g) unsalted butter, softened (optional, for extra shine)
• ½ teaspoon pure vanilla extract (optional, for flavor)
Method:
1. Prepare the Chocolate: Place the chocolate chips into a medium, heat-proof bowl.
2. Heat the Cream: Pour the heavy cream into a small saucepan. Heat over medium heat just until it comes to a gentle simmer (small bubbles forming around the edges). Do not let it boil.
3. Combine and Rest (Crucial for Chips): Immediately pour the hot cream over the chocolate chips, ensuring they are all submerged. Do not stir. Let the bowl sit completely undisturbed for 5 to 7 minutes. This is the most important step for chips, as the residual heat needs extra time to penetrate and soften them fully.
4. Create the Emulsion: After the resting time, gently start whisking in small circles right in the center of the bowl. A smooth, glossy ganache will begin to form. Slowly widen your circles to incorporate all the chocolate until the entire mixture is silky, uniform, and dark. It might take a moment longer to smooth out compared to chopped chocolate, but be patient and gentle.
5. Add Final Touches: If using, whisk in the softened butter and vanilla extract until fully incorporated.
6. Cool to the Right Consistency: Let the ganache cool at room temperature, stirring occasionally, until it has thickened to the consistency of warm honey. It should be thick enough to control but still liquid enough to pour smoothly.
Pro-Chef Tips for Perfect Ganache Application
1. A Chilled Cake is Non-Negotiable
This is the secret to clean, professional-looking drips.
• Why? A cold, firm cake and frosting cause the warm ganache to set up almost instantly as it runs down the side. This gives you total control over the drip length and prevents it from pooling at the bottom.
• How-To: After frosting, chill your cake in the refrigerator for at least 30 minutes (or freezer for 15) until the icing is firm to the touch.
2. Not All Chocolate Chips Are Created Equal
• For the smoothest ganache, use high-quality chocolate chips (like Ghirardelli, Guittard, or Callebaut). Cheaper, generic brands often contain more stabilizers and a waxy coating, which can result in a ganache that is grainy or doesn’t melt as smoothly.
3. Consistency is Everything
The temperature of your ganache is key to controlling the flow.
• Too Hot: The drips will be thin, watery, and will run straight to the cake board.
• Too Cold: It will be too thick to pour and will look clumpy rather than smooth.
• The Sweet Spot: The ideal pouring temperature is around 85-90°F (29-32°C). It should thickly coat the back of a spoon and flow in a steady, syrupy stream.
4. The Drip Technique
For maximum control, don’t just pour it all on top.
• First, cover the top: Pour a pool of ganache in the center of your chilled cake and use a small offset spatula to gently push it towards the edges.
• Then, create the drips: Use a spoon or a squeeze bottle to apply ganache right at the top edge of the cake. Let a small amount run down the side. Use more ganache for a long drip and less for a short one to create a varied, natural look.

Marshmallow Spiderwebs
This technique is less of a strict recipe and more of a hands-on method. The goal is to melt marshmallows just enough to turn them into a stretchy, stringy goo that you can pull and drape over your creation.
What You’ll Need
Ingredients:
• A handful of mini-marshmallows (about 1 cup is plenty for a standard cake). Regular-sized ones also work, they just take a bit longer to melt.
Equipment:
• A microwave-safe bowl.
• Food-safe disposable gloves (This is highly recommended to avoid a sticky mess on your hands).
• A small amount of non-stick cooking spray, shortening, or butter for your gloves.
Step-by-Step Instructions
1. Preparation is Key: Get your cake, cupcakes, or whatever you are decorating ready and in position. Once the marshmallow is at the right temperature, you need to work fast. Put on your gloves and lightly grease the fingertips.
2. Melt the Marshmallows: Place the mini-marshmallows in the microwave-safe bowl. Microwave on high for 20 to 30 seconds. You are not trying to liquefy them. You want them to puff up and get very soft and melty, but still hold some shape.
3. Stir into a Mass: Remove the bowl from the microwave (be careful, it might be hot). Use a spoon to stir the melted marshmallows together into a single, sticky, gooey ball.
4. Let it Cool (The Crucial Step!): This is the most important part. Let the marshmallow ball cool for about 30 to 60 seconds. If it’s too hot, it will be a liquidy mess. If it’s too cold, it won’t stretch. It needs to be cool enough for you to handle with your greased gloves, but still very warm and pliable.
5. Stretch and Drape:
• Scoop up a small amount of the marshmallow goo with your gloved fingers.
• Touch the fingers of both hands together into the goo and then slowly pull them apart. You will see thin, wispy strands form between your fingers, just like a real spiderweb!
• Gently stretch these strands and drape them over the edges and surface of your cake. Let them catch on the sides and top.
• Repeat the process, grabbing more marshmallow and stretching it over different parts of the cake. Don’t be afraid to be messy—the more random and chaotic it looks, the more authentic it will be.
Chef’s Pro-Tips:
• Work Fast: The marshmallow will cool and lose its elasticity quickly. If it becomes too stiff to pull, you can pop it back in the microwave for another 5-10 seconds to soften it up again.
• Embrace Imperfection: You are not looking for uniform strands. Some thick, some thin, some broken—it all adds to the spooky, realistic effect.
• The Final Touch: Marshmallow webbing should be one of the very last things you add to your cake, as it can be delicate.
Check out my spooky spider web cake! 🎃


Did you love this Halloween creation? Let me know in the comments!
Cheers,


Leave a Reply