
This Easter Sunday I planned out making a Stuffed Turkey Roll from scratch. I place this in the Chef Mode series because the whole procedure takes time, patience and some skill, from deboning the small Turkey to rolling it with some useful tips and tricks ( aka chefs techniques ).
DAY ONE
I always give myself some time by allowing two separate days to complete the procedure. This way, you’re not stressing yourself out and there’s no chance of cross contamination. The first day I begin deboning the turkey, taking time and patience. It takes me approximately 25 minutes to complete this procedure. The bones are automatically placed in a pot with rough-cut carrots, onions and celery, along with bay leaves, fresh sage, salt and peppercorns. This will give you a nice turkey stock for your typical gravy and it’s also used in moisturizing the stuffing too.
The best way to explain deboning a turkey is by showing you step by step method on my YouTube Video 👇
DAY TWO
The next day I prepare my stuffing first and place to the side. Next, bring out the deboned turkey and lay it out on Saran Wrap ( plastic wrap) .
First thing I remove the chicken strips from each breast and placed it to the side. Next, I also cover the raw turkey with plastic wrap and begin pounding it out flatter. Remove the top wrap. After that, I season the turkey with salt, pepper and ground sage, rubbing it in.
Next — add half of the Turkey Stuffing along a long row. Now, take your chicken strips and place along the top. Fill with your other half of stuffing.
Now — it’s the careful craft of rolling the turkey, pitching in the sides, to make sure you don’t loose any stuffing. Keep the roll as tight as you possibly can.
Now — you can tie it with butcher twine, but not necessary. The trick dear Potter, comes by wrapping up the Saran Wrap with the turkey firmly rolled inside. YES ! You heard correctly.
Next – Wrap the whole Turkey Roll in Tinfoil with the Saran Wrap still on — YES ! You heard correctly.
Now — take a moment to watch my YouTube Video to make sure you have followed all the steps correctly. Watch it a few times and please, don’t forget to like and follow my YOUTUBE PAGE 👇
Once everything is securely wrapped ( no plaster wrap showing, whatsoever) inside the tinfoil, place on baking sheet and place in fridge for one hour.
Preheat your oven to 400 degrees F .
Bring out your tinfoil wrapped Turkey Roll and let it sit at room temperature for 15 minutes. NOW – Place in the preheated oven ( 400 degrees F ) and let cook for 1 1/2 hours .
NOW – bring out the Turkey Roll from oven. Remove the tinfoil and the inner plastic wrap. Place it back in the oven at 420 degrees F for 10 minutes to brown the top and sides.
Bring back out and most importantly let your Turkey Roll REST for 15 minutes. Do not touch it. If you cut it before the resting period, the juices will come out and the turkey roll will be dry. SO – please let it REST for 15 minutes.
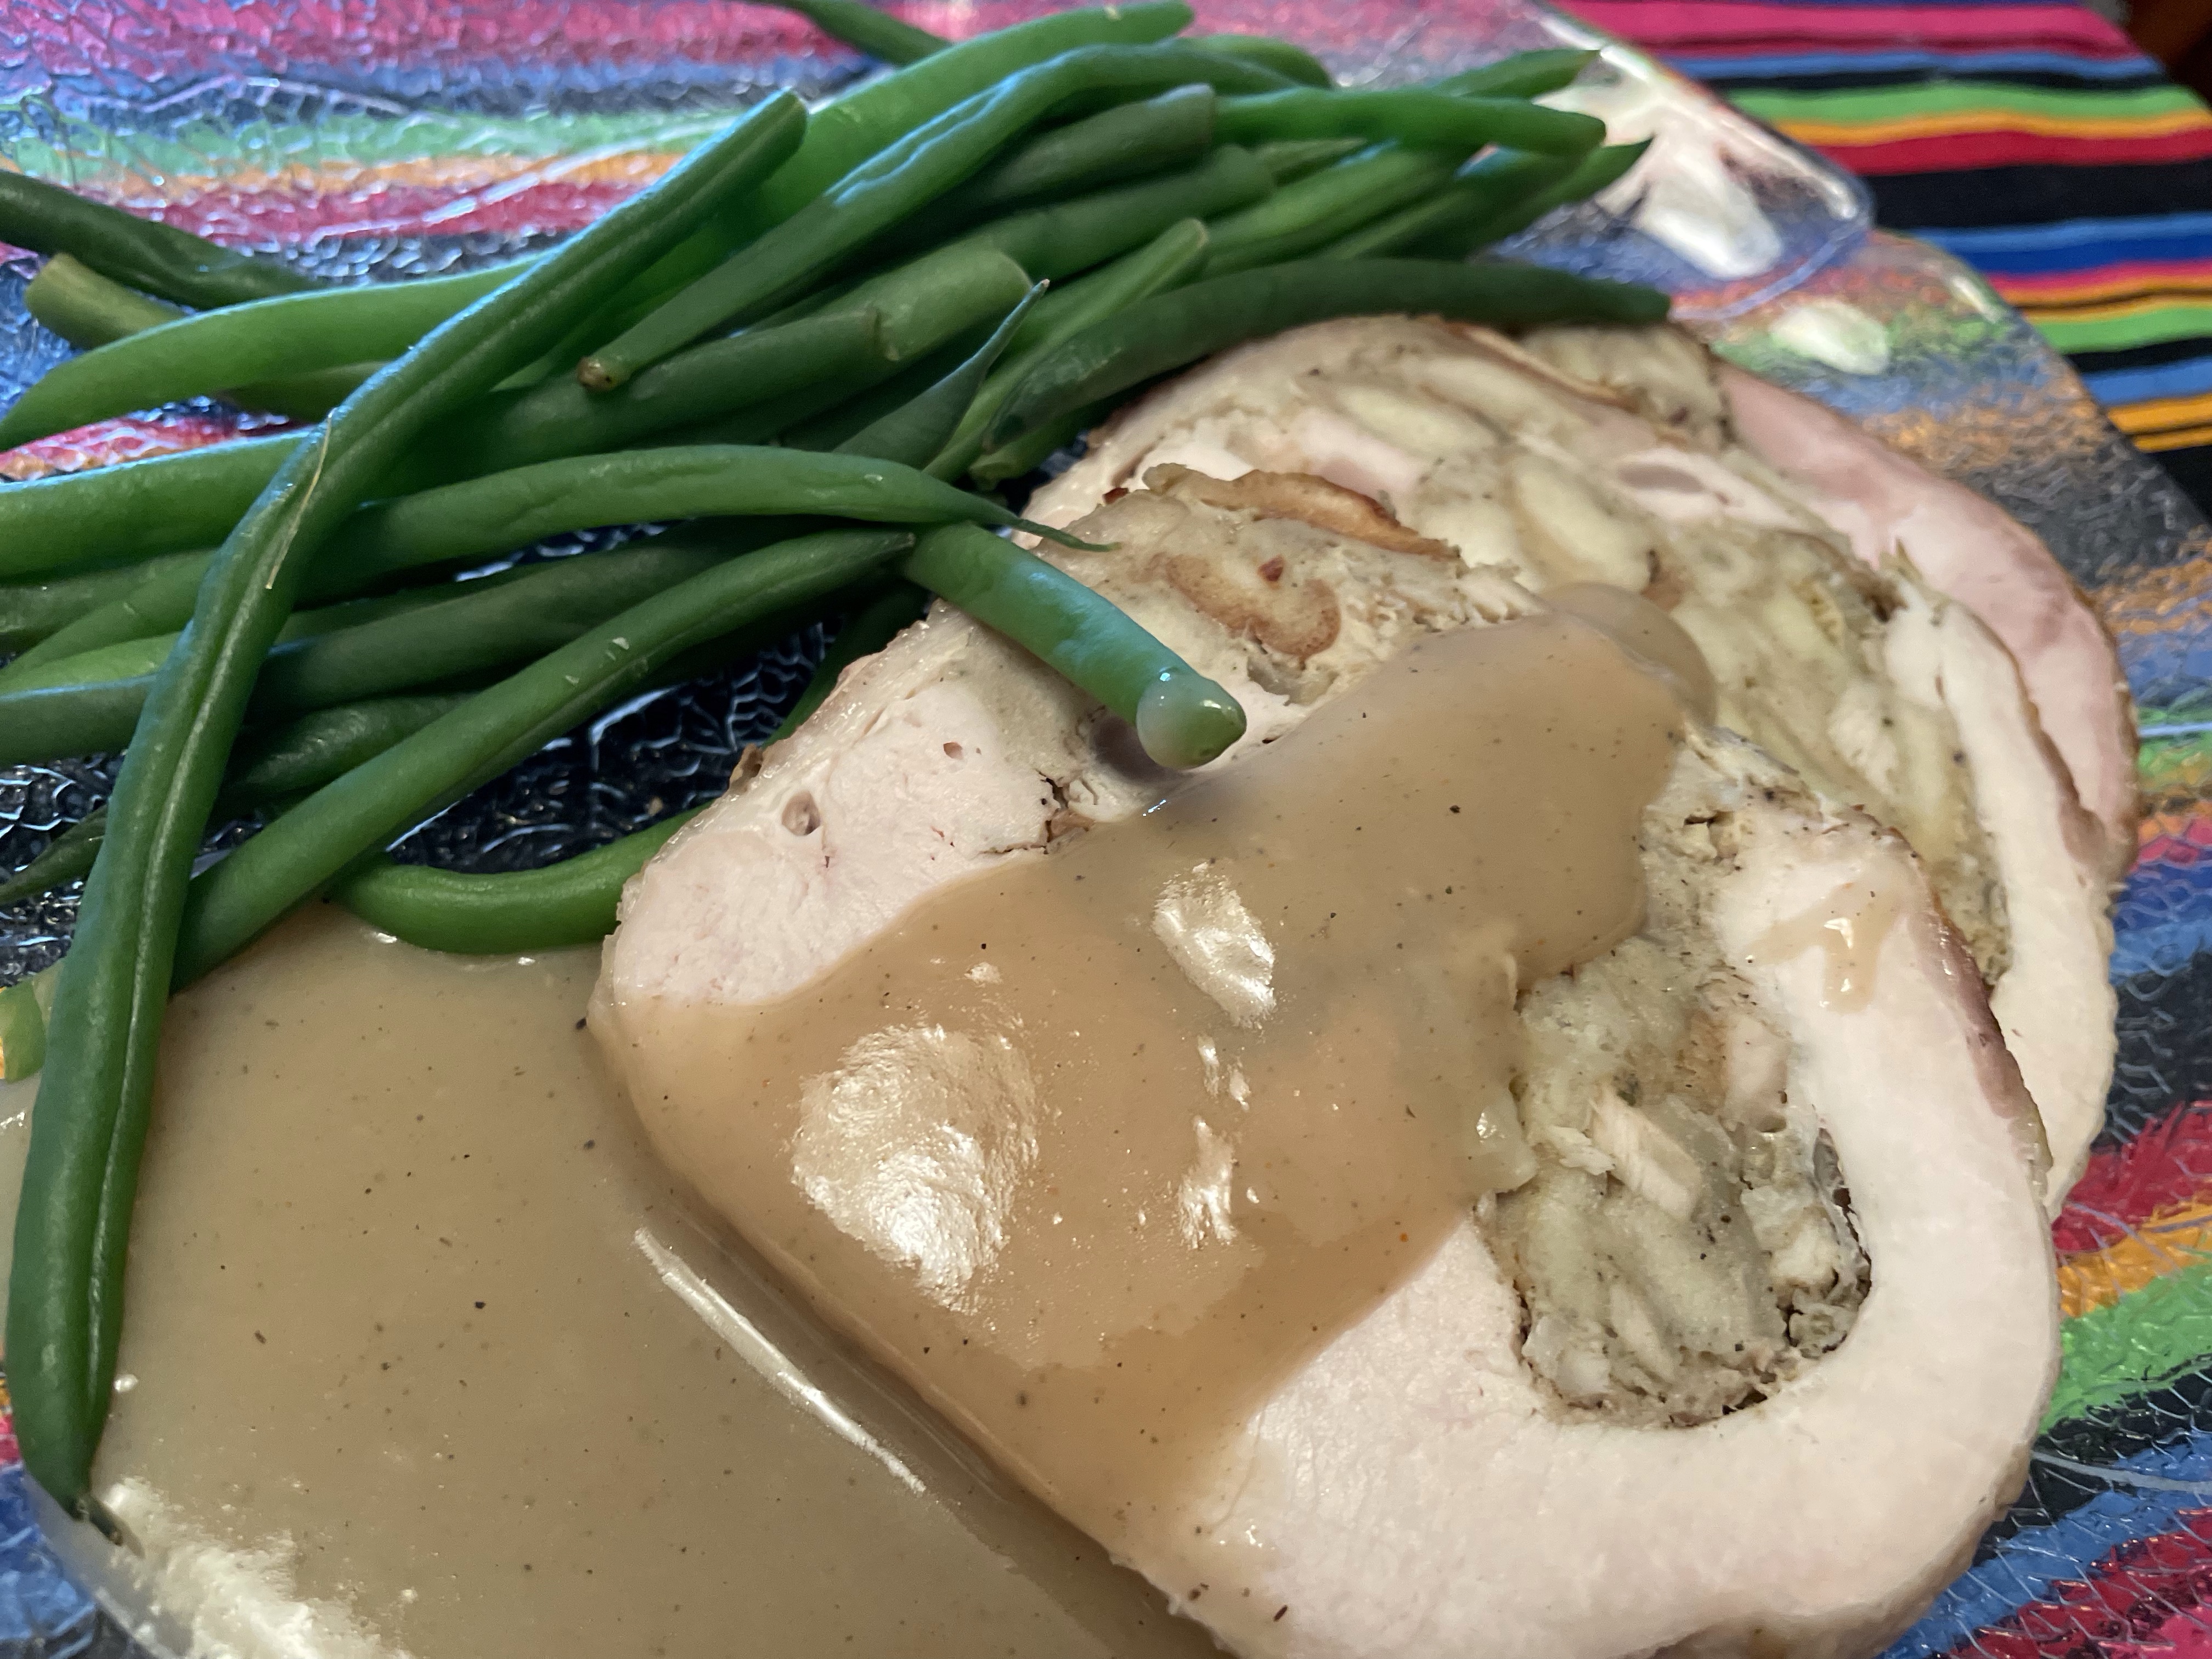
Now you’re ready to cut it into 3/4 inch slices, as shown in my photos. Leftover Turkey roll the next day ( from the fridge) can be cut thinner, which makes excellent Turkey Sandwiches — so yummy!
Anyway — serve with mashed potatoes and turkey gravy. For veggies, you can have Butternut Squash and fresh green beans, or maybe asparagus. The veggie options are whatever you choose.
Voila!


Please take a moment to buy my cookbook “ Canadian Recipes of the Great White North “ for my efforts
OR
Much appreciated it 🙏
Cheers !


Leave a Reply